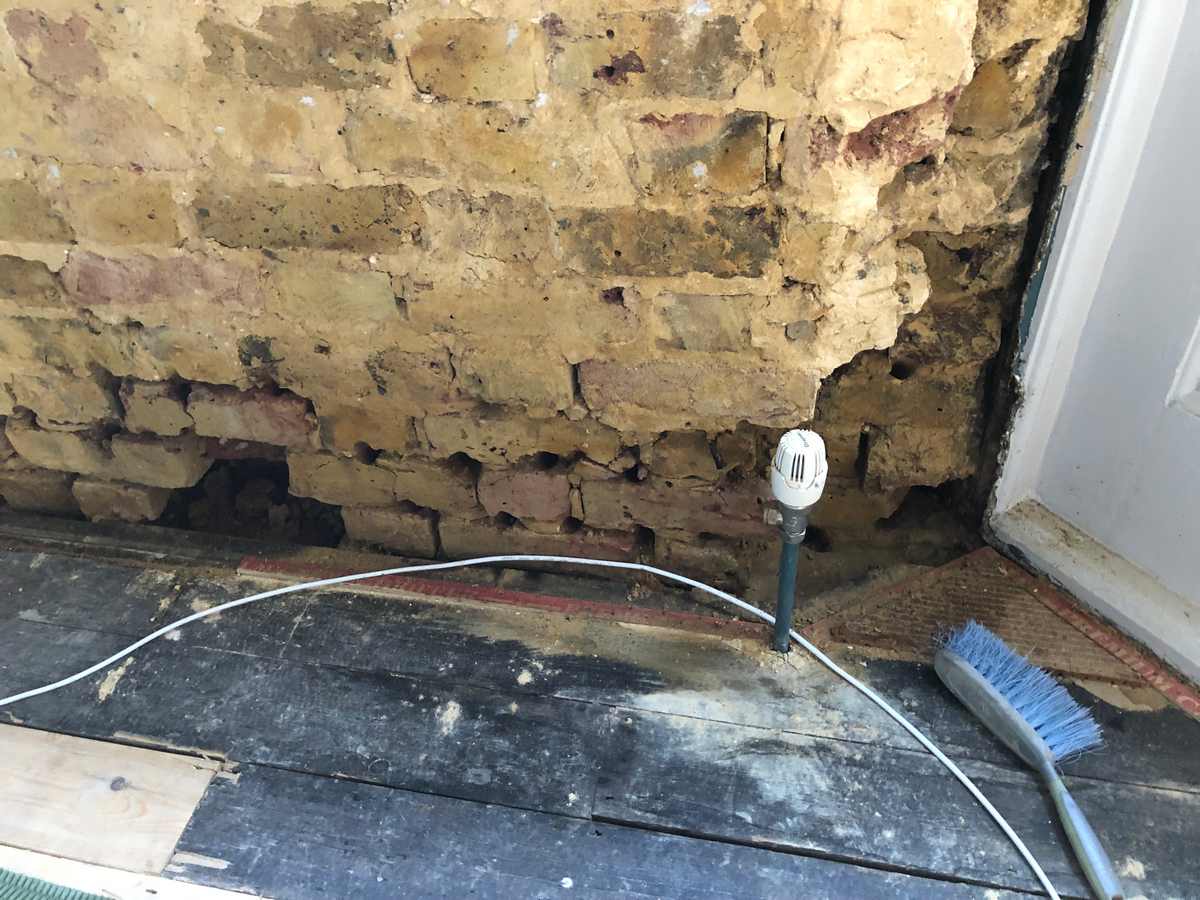
Damp Proofing Job in Sutton, Cecil Road SM3 5AP
STAGE 1
Holes have been drilled from 80-100mm centre to the centre of the holes. After drilling the holes, we clean the holes by spraying them in the centre with clean water to soak them. Also, for this reason, our injection product could spread better and have a better effect during deeper penetration into the centre and on the sides of the holes.
STAGE 2
Our second favourite stage is drying the rooms after injecting our products for renovation (DPC).
Dehumidification consists of inserting a Dehumidifier for 2 to 3 weeks to draw water from the walls above the new one (DPC-Injections)
We use Tanking Slurry and bricks that allow us to apply Tanking to better the visibility of dry places and protect against the penetration of moisture from the outside.
STAGE 3
After drying the room for two weeks, the Dehumidifier was still unable to dry the above-new areas (DPC-Injections).
The cause was from the outside because it is a single wall and the outside of the Pointing wall is in bad condition, and the wall was constantly permeating rainwater and external moisture.
So we explained to our client that the right to the inside is not enough because it is Penetrating Damp from the outside and the joints between the bricks require re-application of the mortar.
STAGE 4
After four days, we completed drying the walls with the Dehumidifier method by applying the waterproof plaster.
The photos show the difference between wet plaster and dry plaster.
STAGE 5
We completed the work positively; the top layer of Plastering was completed, and the external plaster above the existing one.
Due to the large slope of the Patio (floor tiles) towards the wall, we proposed to install Ecodrain with Gully at the wall where we performed repair works (Damp Proofing) from the outside to drain water that was still standing in front of the wall and expose the water to the wall.

